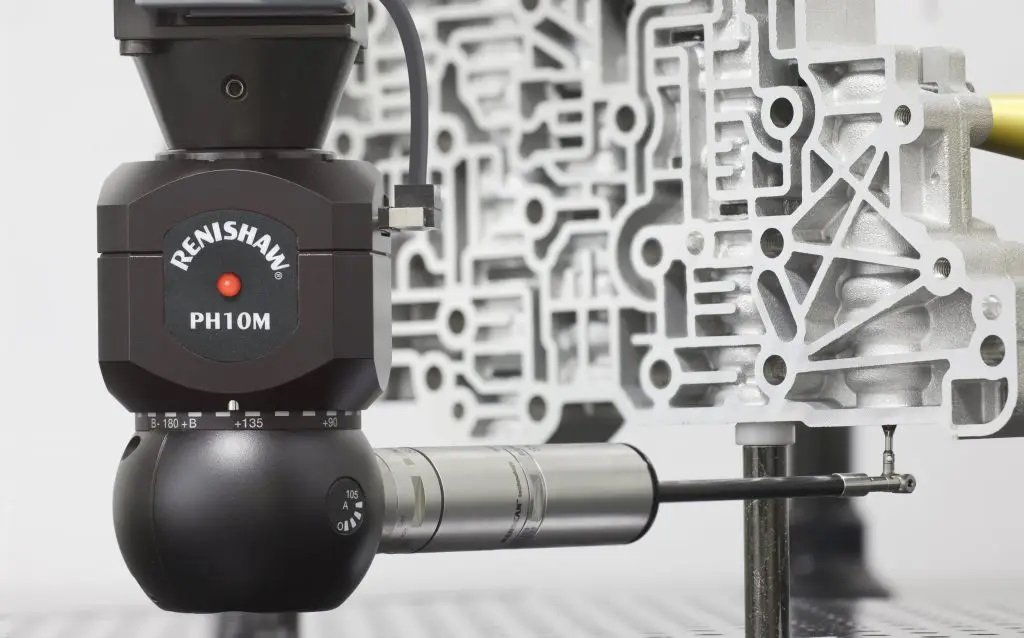
Different Types of CMM Machines?
There are different categories of Coordinate Measuring Machines (CMMs), each with its own design and capabilities. The main types of CMMs are as follows:
Bridge CMM
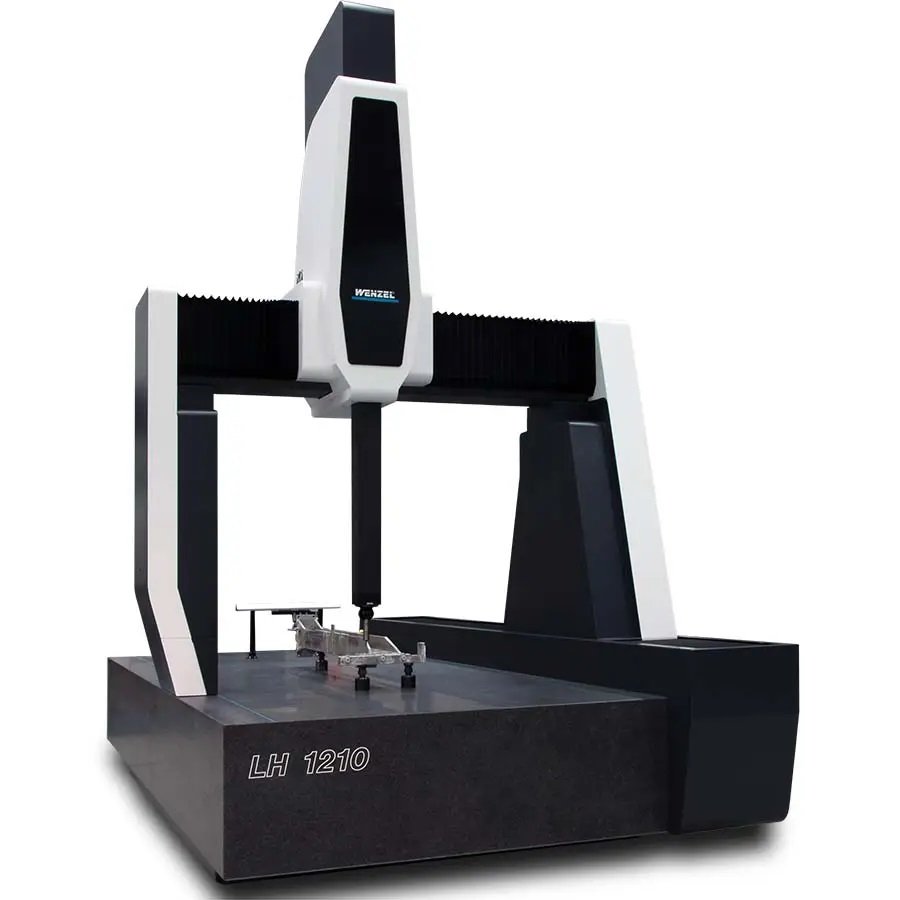
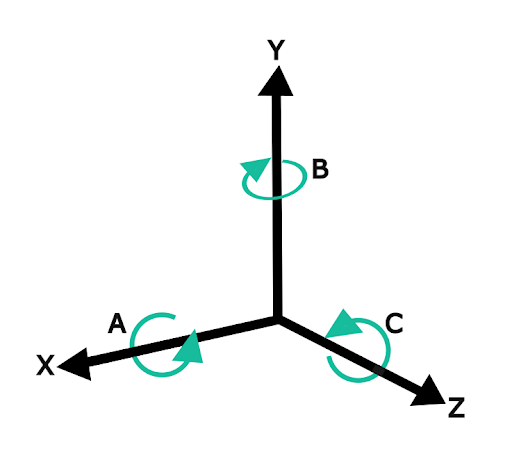
This model is the most common type of CMM. The bridge style consists of a rigid structure resembling a bridge with two vertical columns and a horizontal beam connecting them. The measuring probe, acting as the measuring arm, is suspended from the bridge and moves along the X, Y, and Z axes. Bridge CMMs have high accuracy and are suitable for measuring large and heavy objects.
Bridge CMMs are used for measuring the three-dimensional dimensions and geometric tolerances of parts, gauges, and precise fixtures. The operation of these machines can be either manual or automatic (CNC). The dimensional capability and measurement range of these types of measuring machines typically range from 400 millimeters to 4000 millimeters.
Cantilever CMM
In the cantilever CMM, the measuring probe is attached to one end of a horizontal arm that extends from a vertical column. The arm moves along the X and Y axes, while the column moves along the Z axis. Cantilever CMMs are often used for smaller and lighter objects and provide good access to the measuring area.
Gantry CMM (Gantry Coordinate Measuring Machine)
Gantry CMMs have a structure similar to Bridge CMMs but are supported by four columns directly found on the ground (with a separate foundation of granite measuring plate on the ground) while the bridge model’s plate and bridge are connected by two columns. This design increases stability and rigidity, making Gantry or Gantry-style CMMs suitable for measuring large and heavy objects. They are typically used in the automotive and aerospace industries.
Gantry-style CMMs are used for measuring three-dimensional dimensions and geometric tolerances of large and very heavy parts, gauges, and fixtures.
A significant difference of the Gantry CMM compared to Bridge machines is in placing the workpiece on a plate installed on the ground, suitable for measuring heavy parts without damaging the machine’s axes. Also, due to the larger structure of the Gantry CMM, the accuracy and precision are generally less than that of Bridge machines. It should be noted that these machines are only available in CNC format.
The dimensional capability and measurement range of these types of machines typically range from 3000 millimeters to 8000 millimeters.
Horizontal Arm CMM (Single Arm or Dual Arm)
Horizontal Arm CMMs feature a horizontal arm that can rotate around a vertical column. The measuring probe is attached to the end of the arm and moves along the X, Y, and Z axes. Horizontal Arm CMMs are often used for measuring large objects with complex geometries, such as automobile bodies or aircraft components.
Single-arm CMMs are used for measuring and inspecting large parts (sheet metal) in industries like automotive, aerospace, shipbuilding, and rail industries.
One of the disadvantages of these machines is that the weight of the Y-axis rests on the Z-axis, affecting the accuracy, precision, and correctness of the machine. Choosing two Single-arm CMMs (dual-arm) reduces the time required for measurement and inspection. The operation of Horizontal Arm CMMs can be either manual or automatic (CNC).
The dimensional capability and measurement range of these types of machines typically range from 3000 millimeters to 8000 millimeters.
Portable CMM (Portable Coordinate Measuring Machine)
Unlike fixed CMMs, portable CMMs are designed to be transportable and handheld. They usually consist of a measuring probe attached to a portable arm or a handheld device. Portable CMMs offer flexibility and mobility, allowing measurements to be taken directly on the workshop floor or at the installation site. They are particularly useful for measuring large objects or structures in hard-to-reach locations.
Each type of three-dimensional CMM has its advantages and disadvantages and is suitable for different applications based on factors such as the size of the objects being measured, the required precision, and access to the measuring area. The choice of a CMM depends on the specific requirements of the measuring task and the industry in which it is used.
Latest Articles in your inbox
Subscribe to our newsletter to get the newest manufacturing and industrial services articles in your inbox once a week.


